
I created a base out of clay and covered it in cling film. This was so the clay would take the weight of the sculpt and fit snug around it:


I then built a clay wall around it and expanded it - I probably expanded it more than I needed to but I wanted to make sure this would work as it was my one and only shot at getting it right:


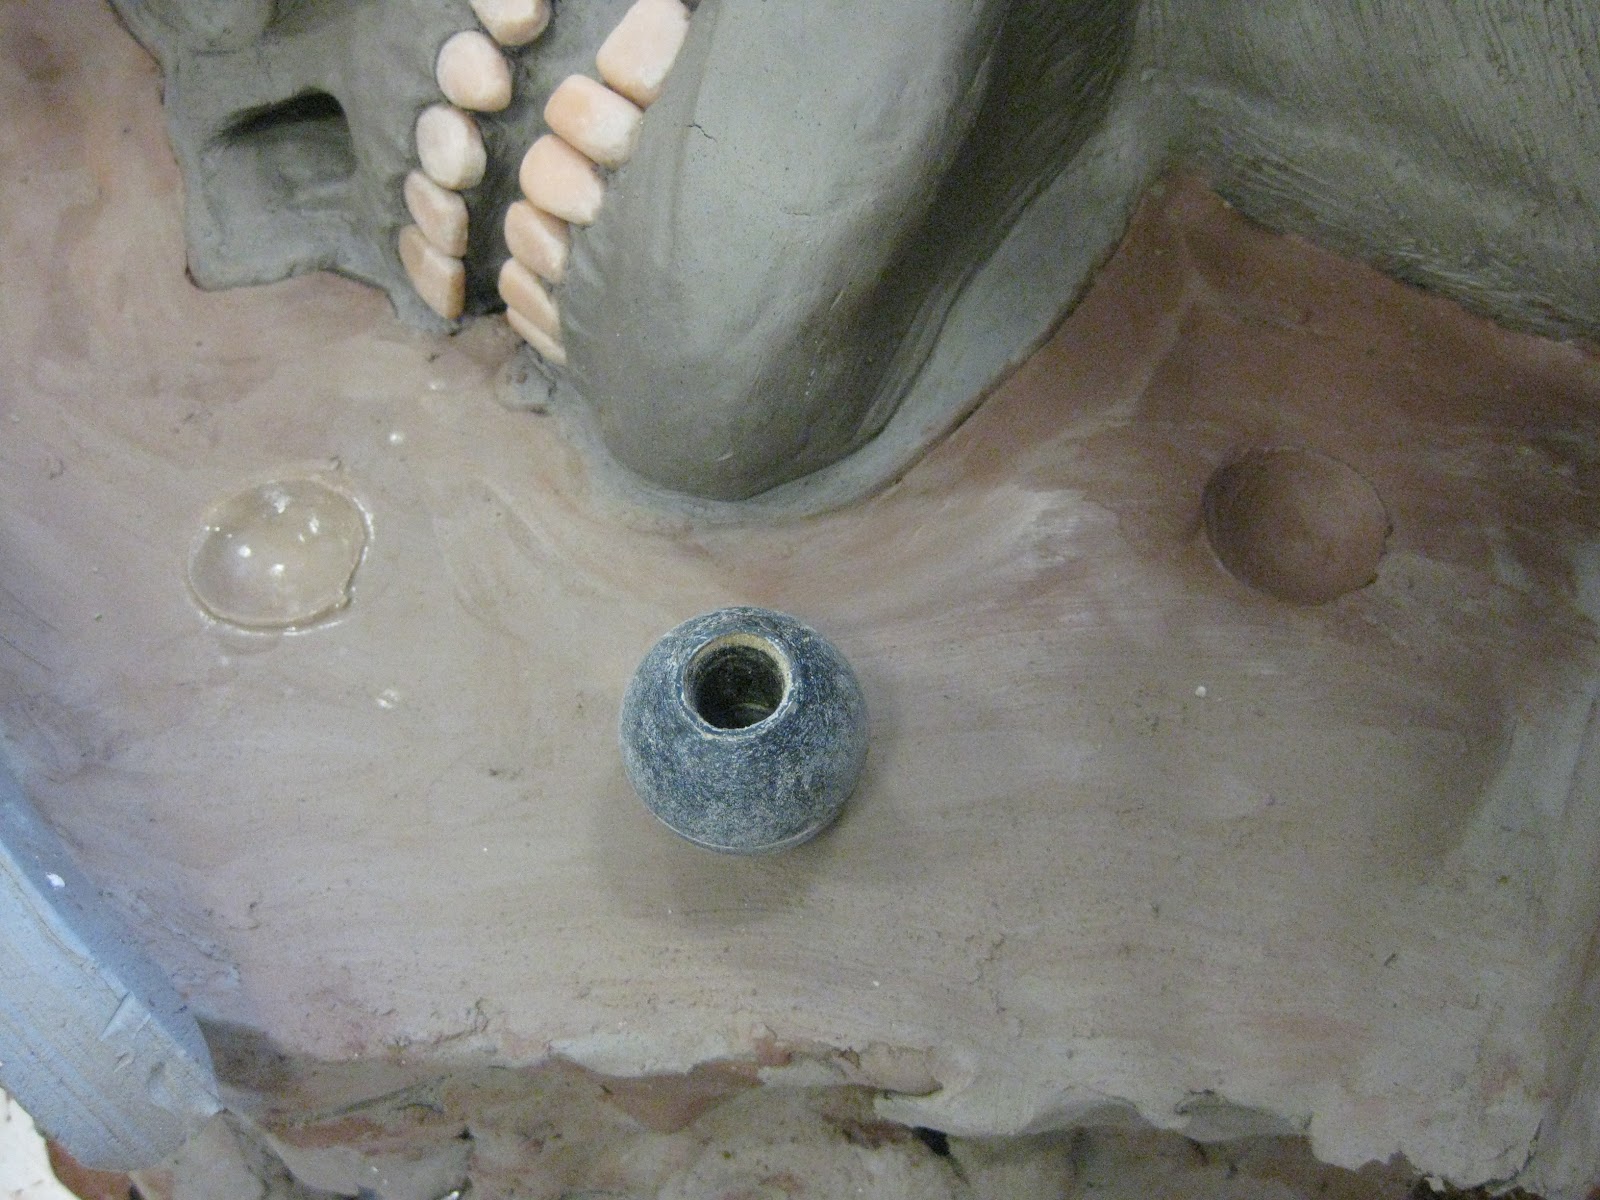
I had to be careful to make sure the sides were straight - the way I looked at it was trying to keep the walls at perfect flat 90 degree angles. This was so the three plaster casts would fit together properly once I came to make the plaster mold. I also added markers on either side (this was the only part of the three parts I would add markers on either side) so that the plaster would fill in these caps and create a point of contact between the sides so they would come together properly:

Now I could add the plaster. To begin with, I flicked the plaster on in a thin layer so that I could make sure it got in to any nooks and crannies and covered it all so no clay was visible, whilst tapping the sides to get rid of any air bubbles. I waited for the plaster to set slightly and added a thicker layer of plaster. Then, I could add hessian onto the plaster and cover that in more plaster - this was to strengthen the mold. I tried to make sure the sides were flat above and to the side of the head so that I would be able to clamp the mold together:


I then did the same for the other side of his face and the back of his head (waiting around half an hour/ forty five minutes between each one). The only difference being, I added clay slip to the plaster and clay wedges around the sides. The wedges were so it would make it easier to open the mold later on. I also had to add markers in the clay around the back of the head:


Once it was dry, I could push wooden wedges into the clay wedges and start to lever the cast apart:


The first side to come off was the finished side of the face:


Then the unfinished side (which completely fell apart probably because it was a lot dryer than the other side and there were more areas where the plaster could sink in to and set and prove difficult to remove - areas such as the join in his jaw):


I then had to rinse all three parts clean of any excess clay that had stuck to the clay - making sure to get in everywhere so that no clay was left over otherwise this would compromise the outcome of the latex head. Once it was all clean, I could then start to create the latex head.
No comments:
Post a Comment