I had to connect it to the metal skeleton somehow so I used the left over sections I wood I had created for his joints and cut a slit out of one side. I cut two more strips of metal and pop-rivited it to the bottom of the hand on one side and screwed it into the wood at the other end. I could then just slot them into the metal skeleton:


I now had the task of building up his hands...
I decided to start with the finished hand first so that I would know how to work around the open area on the unfinished hand. I started off by trying cotton wool balls dipped in my skin coloured latex and stuck them to the metal but it looked very segmented and I couldn't blend it very well:

So instead I tried using flat peices of cotton wool soaked in skin coloured latex and wrapping it around the metal but it took a lot of time:

So instead, I went back to the cotton wool ball idea and added cling film, that I had also covered in the skin coloured latex, over the top of the wool and applied heat from a hair dryer over the top of it so it shrank and wrinkled like real skin. I also added string so act as knuckle wrinkles before I added the cling film in an attempt to give him some knuckles:


However, there was something very un-natural looking about the shiny appearance of his skin (especially because his face wasn't shiny) so I removed the cling film to see if it would look any better:


It turned out that by adding extra latex over the top of the cotton wool (which wasn't completley soaked in latex as it was in my first attempt) made it a lot easier to blend so I decided to use this technique but adapt it slightly.
So I didn't have to use as much cotton wool and latex, I wrapped tin foil and wire mesh around the metal skeleton and added thin layers of flat cotton wool ontop of the mesh. (I used un-coloured latex with the idea of painting it with the skin coloured latex later would not waste as much latex):


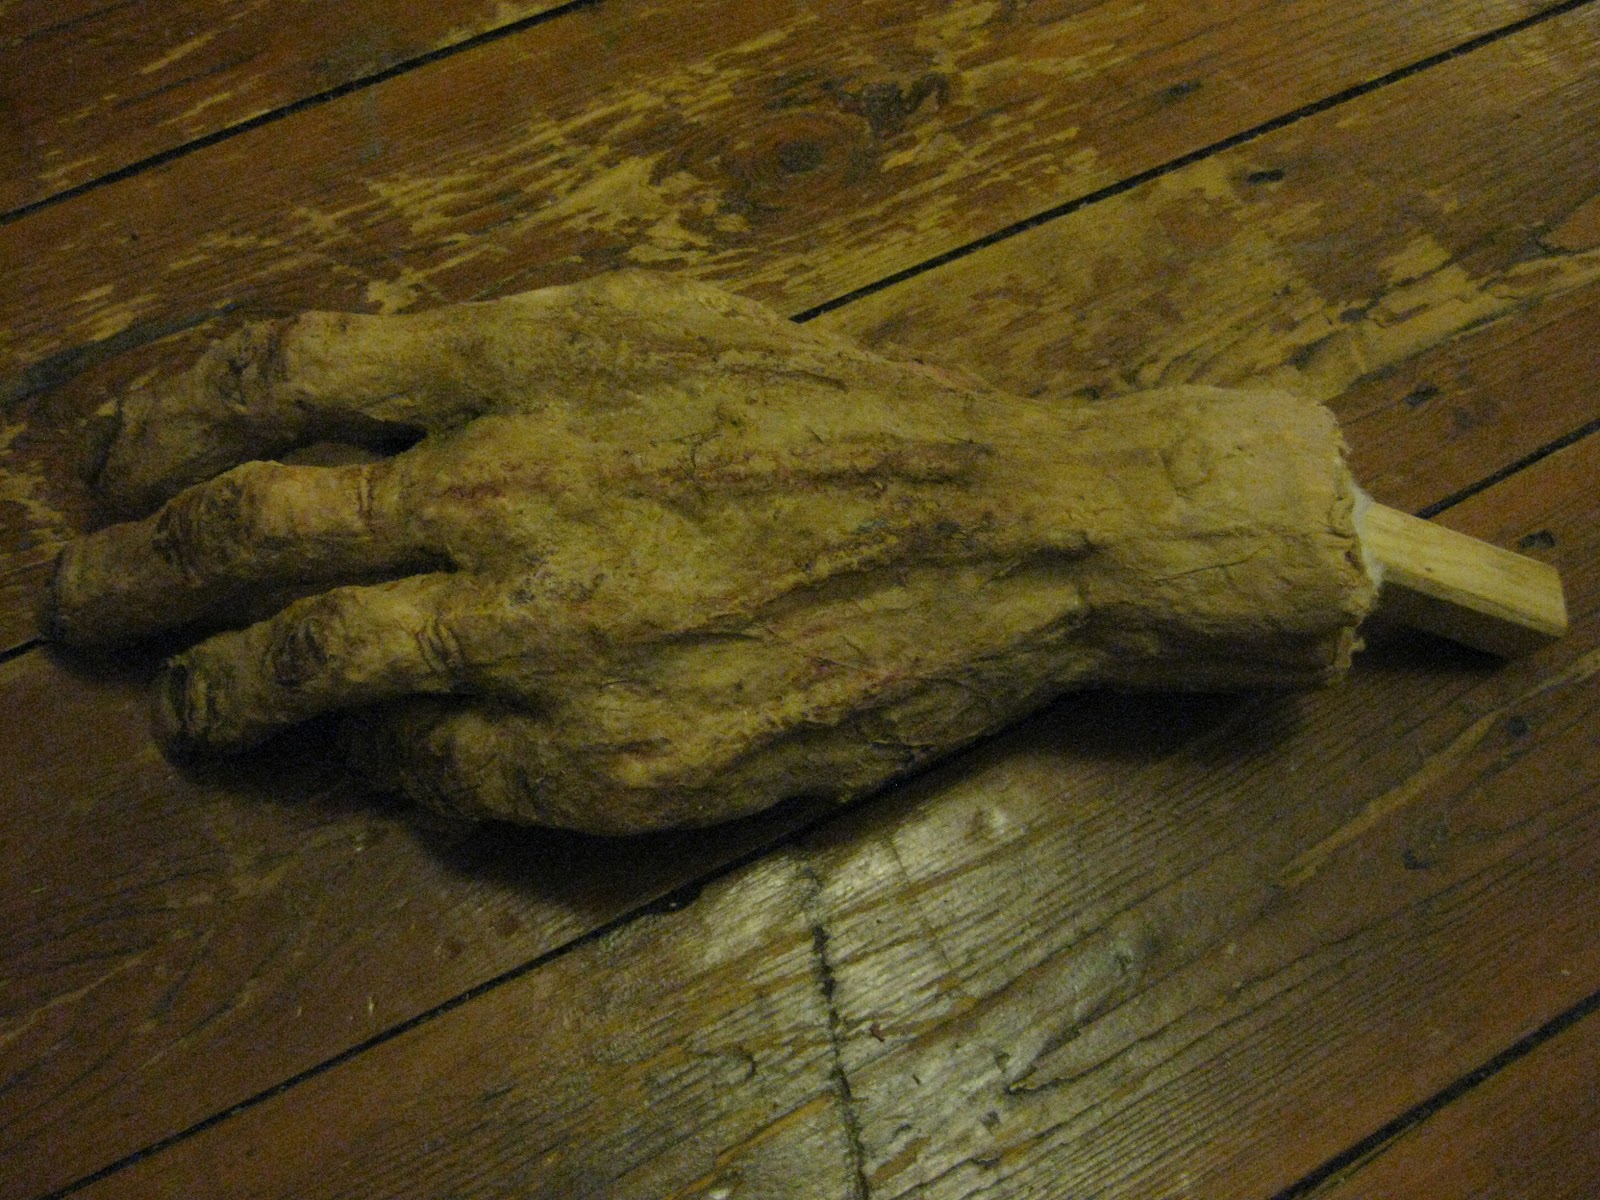
I then made finger nails out of Sculpey and glued them to the fingers. I made sure to add a thin layer of cotton wool under the nail so that the bottom of the nail wasn't as obvious. I also coated the Sculpey in latex so that once it had dried, I could peel it back to the sides of the nail and the latex would act as a cutical. Whilst doing this, I also created a wrist:


All I had to do now was paint the hand and the nails. I wanted the nails to look as if they had been dead for a while so I kept them quite long. To help create the 'dead nail' look, I pushed down on either side of the nail to try and create a natural crack in it, once I had done this all I had to do was paint it (which I did with acrylic paint):


I was quite pleased with the nails but they still looked a little 'dry' so to make them look more realistic, I added a very thin layer of clear Glaze (the same stuff I added ontop of his teeth):


Now I had worked out the best way to create the hand, I set to work on creating his other hand. This one was going to be more difficult as he was going to be holding a medical tool so I would have to curl his fingers slightly. I used exactally the same technique as before but I realised I would have to create the open area on the back of his hand first so that I could build the skin around it.
Through experimenting a little, I found I quite liked the effect of coating a pipecleaner in red latex and wrapping cling film covered in latex around it to create a tendon. However, I was still stuck on how to create the muscle around it! At first, I tried wadding covered in red latex:


I continued to build up the skin around the open area and covered the entire hand (bar the open area on the back of course) I also added the nails in exactally the same way as before:


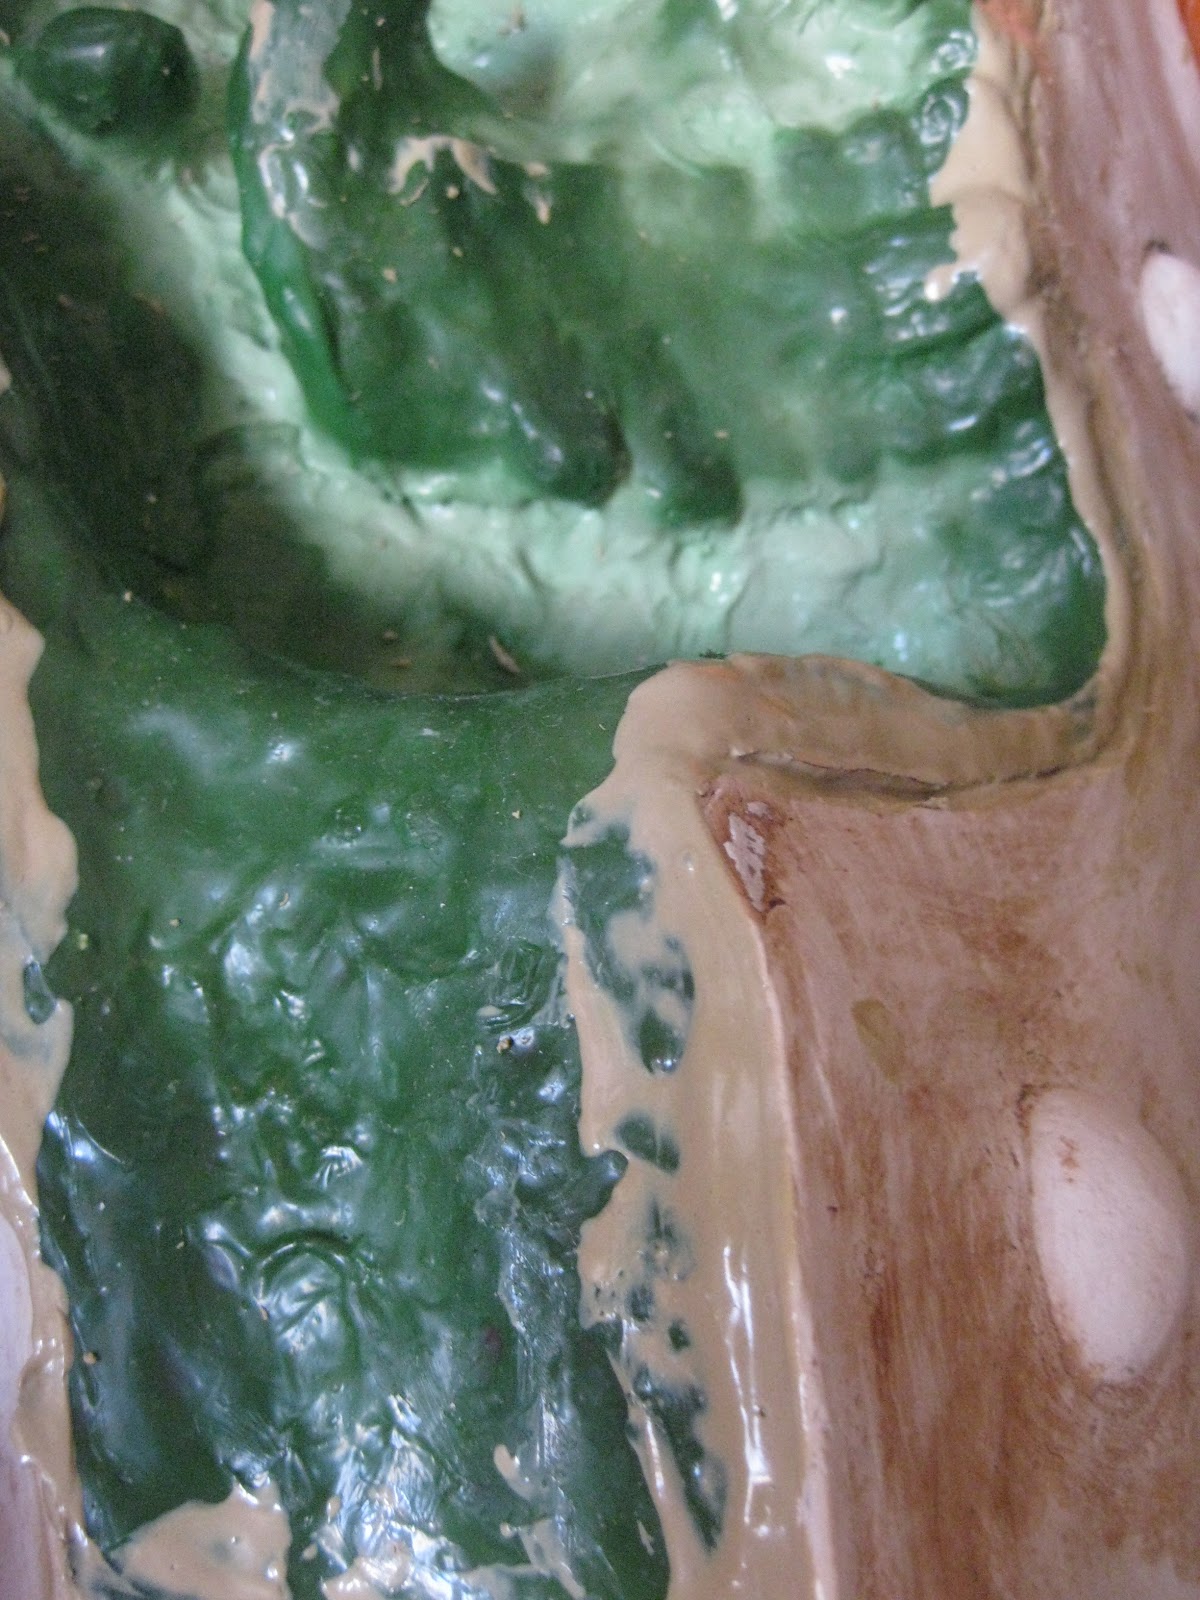
I was quite pleased with how it was looking but there was something that just wasn't sitting right with me about the look of the wadding. It looked too different from the muscle on his face and when you think of the muscles in your hand, you think of small tight muscles rather than just a giant meaty slab. So I tried a bit more experimenting and found mixing silicone sealent with red acrylic and smearing it on to cling film with a cocktail stick created a really nice muscle texture. It also looked as if it was slightly wet and it had the added benefit of being slightly squishy.
So, I placed a bit of cling film over the back of the hand and placed some tendons over where I had placed the original tendons. I could then try and create a full slab of muscle with tendons inbetween so that I could just glue it in to place: