Myself

My photo
I have just finished studying Entertainment Design Crafts at Cleveland College of Art and Design where I specialised in the design and creation of props and set for film, TV and theatre.

Sunday 29 April 2012

Adding The Detail To His Head

Now I had his head made, I had to neaten it up and add the detail.

I started by adding his hair. I knew I would have to use a lot of hair because I made his head slightly larger than a normal so I decided to use nylon hair extensions. I wanted to make sure that it wasn't going to look like a wig so I bought three different shades: black, dark brown and brown. I mixed the hair together and cut it to the length I wanted. I stuck it on using latex:


Once I had attached the hair as far up as I thought it needed to be, I started to punch the hair it at the top so that it would make it look more realistic and it wouldn't be as flat. I also gave him hair in front of his ear but because this was shorter, I used latex to glue it on rather than punch it in as this would have made it stand out more than I wanted it to:


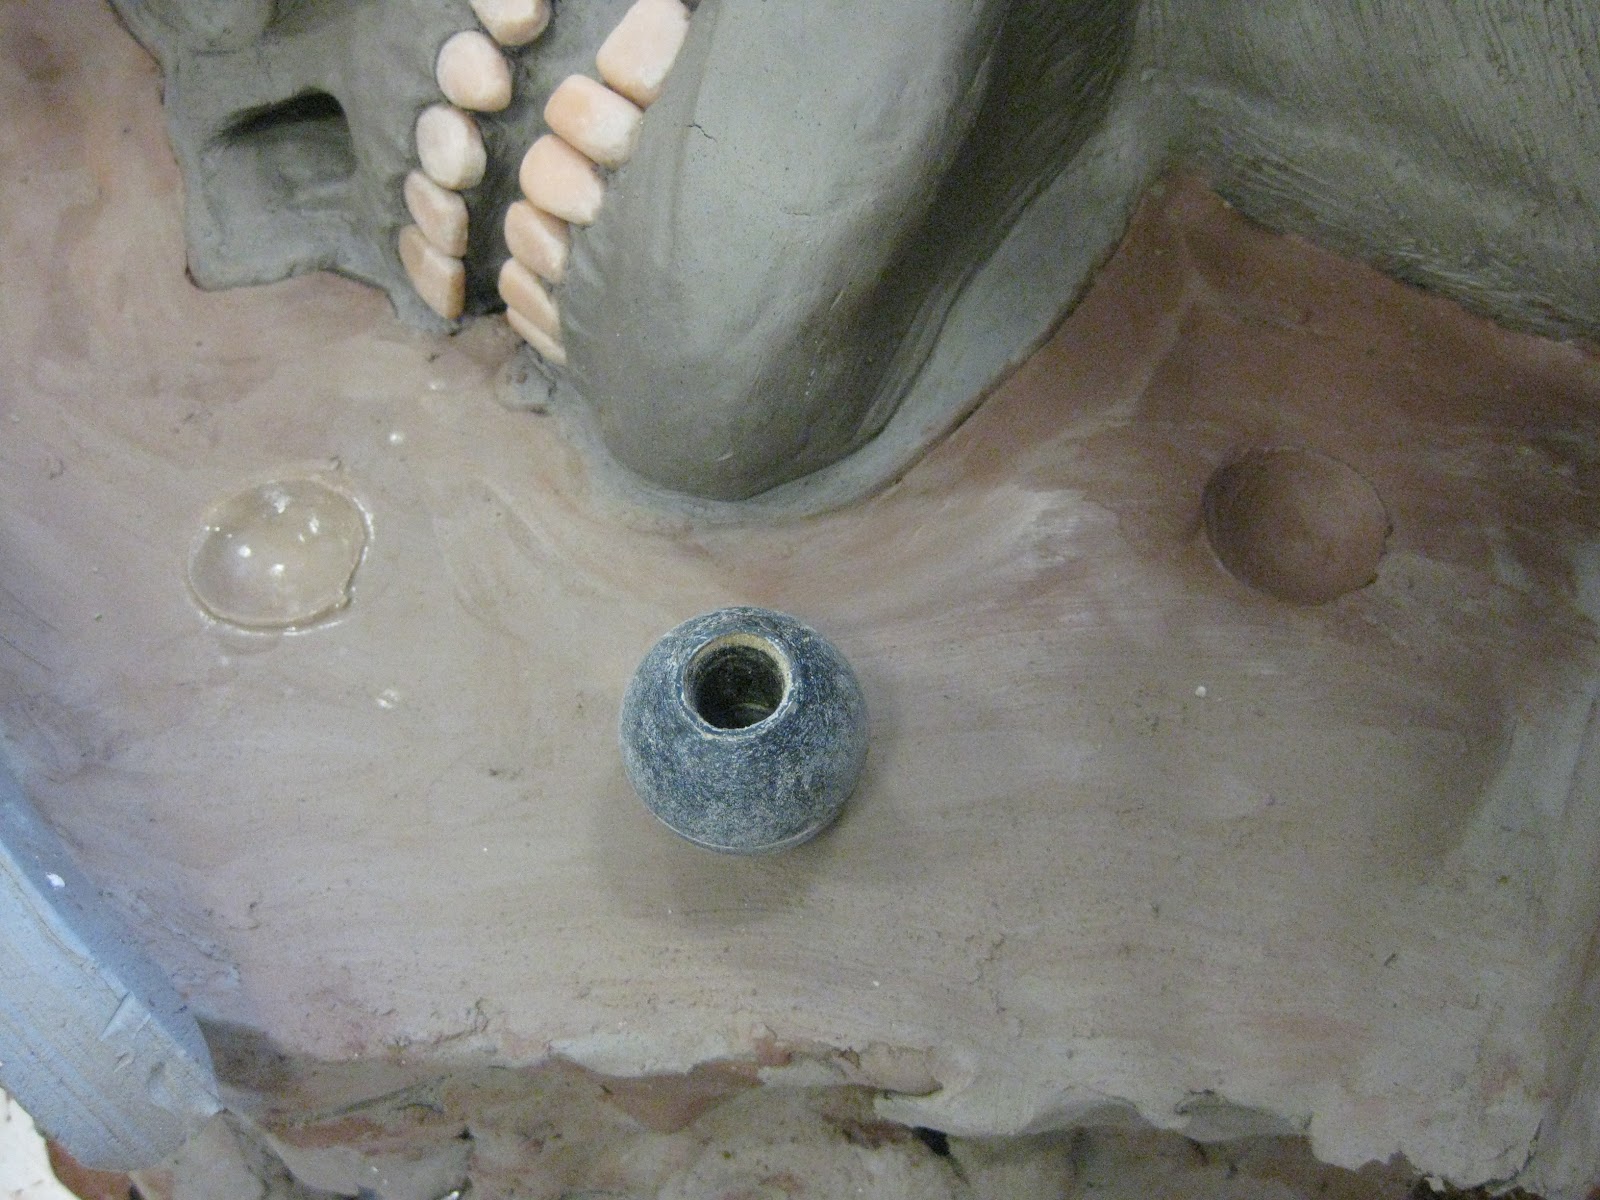
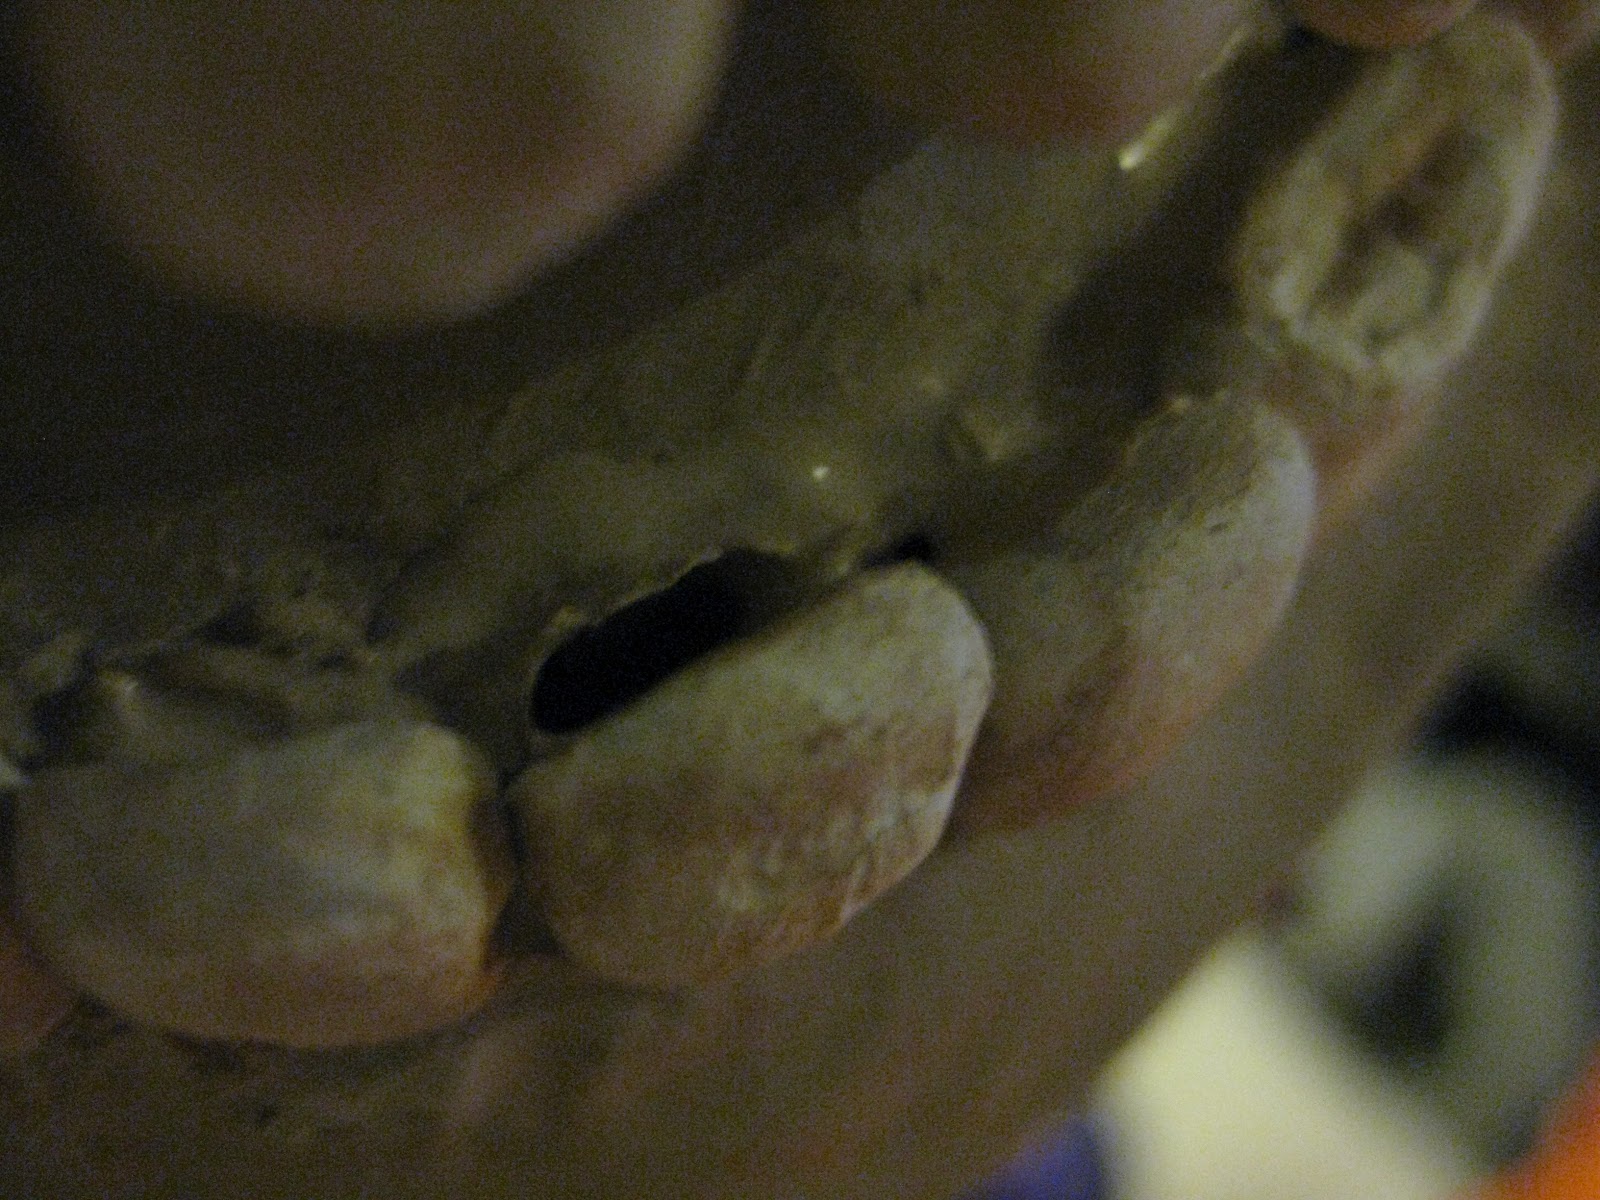
Whilst doing this, I added a bit more paint detail on the face, added some teeth (I made new ones from Sculpey to fit in the latex cast as I wasn't pleased with the earlier ones) and gave his them a coat of clear Glaze to make them look more shiny (I had noticed from looking at human teeth that had been removed by a dentist, the tooth was surprisingly shiny and the root was very dull in comparison):


I made them bright white as described in the book but they looked a little absurd so I dulled them down a bit to make them look a little more 'dead'. Also, because I made new teeth, the width of some of them weren't the same as before so when I glued them in place, there was a gap at the back. I used the bone coloured latex to fill in these gaps:


I added more paint detail:


Then, I styled his hair to make it look like how I envisioned it:

I was pretty happy with it! Now, to make the latex flap on his head a feature, I added stitched around the sides of it. To make them look more believable, I added dark red paint on either side to act as blood:


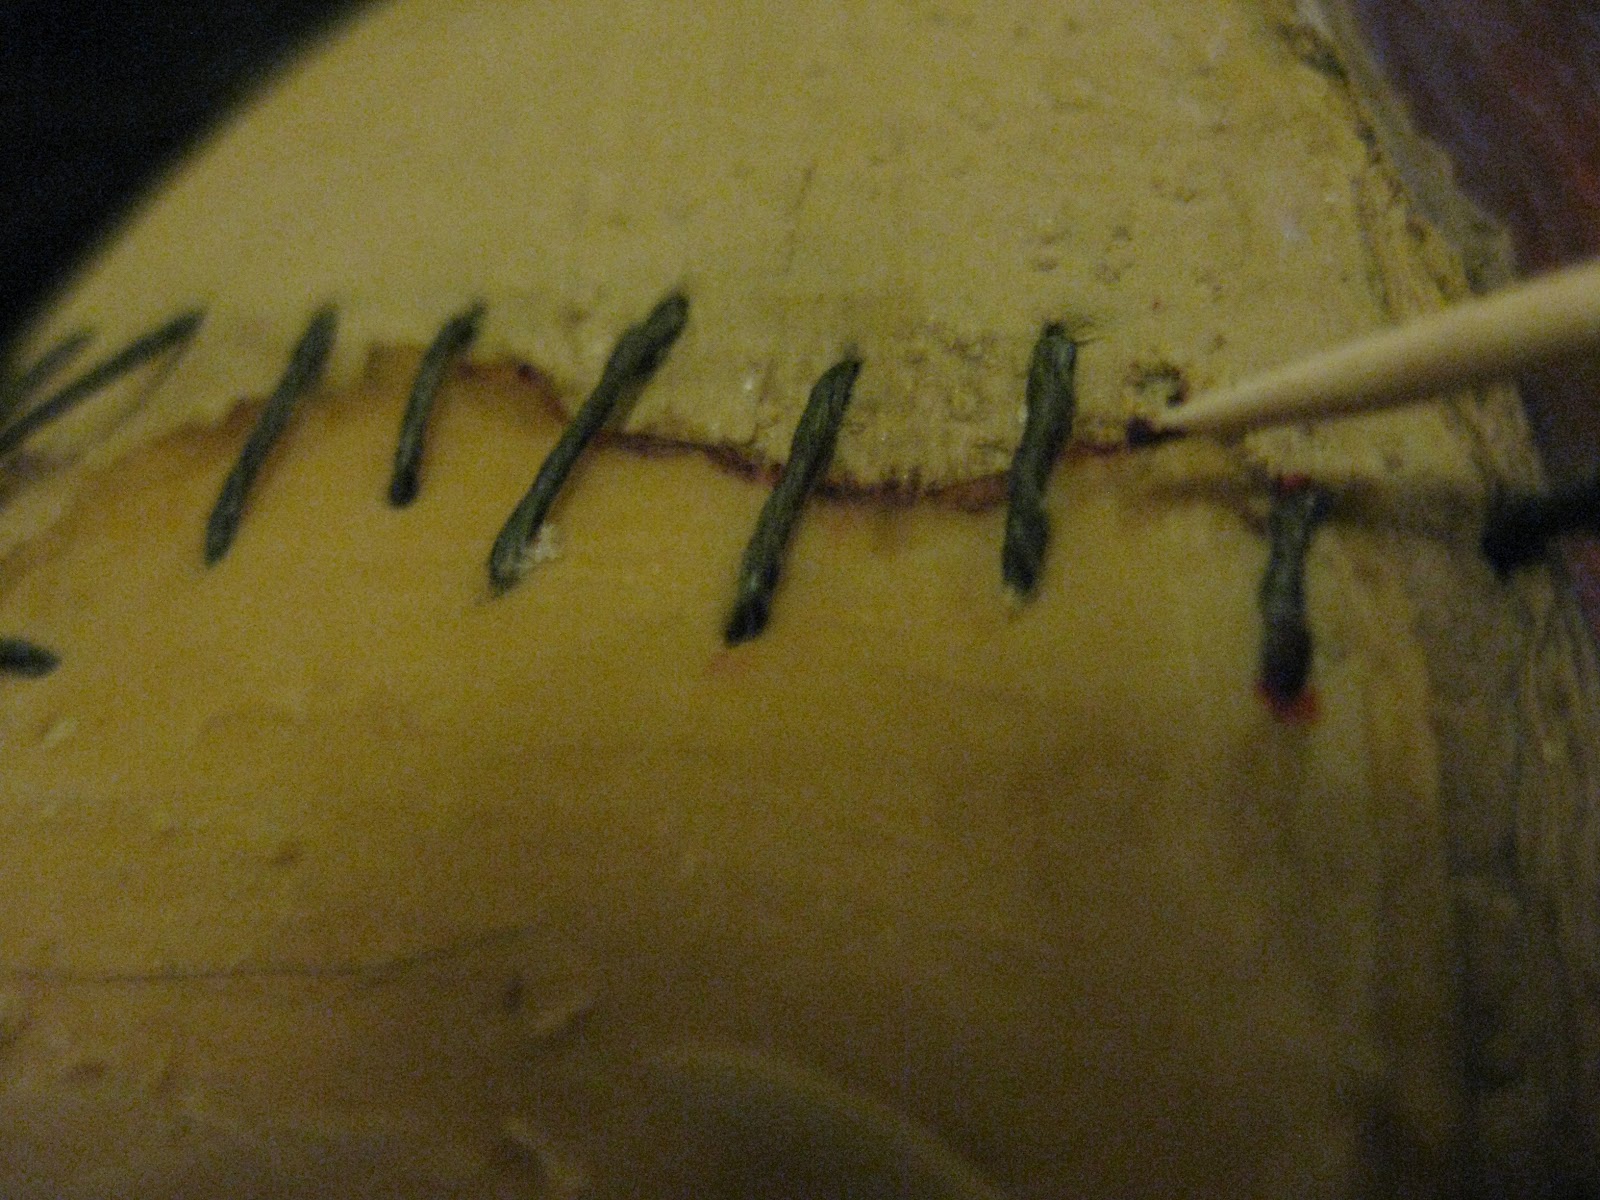
I didn't finish off the stitching as I hadn't done the eyebrow yet. This was the head so far:


So now I had to punch in the eyebrow using individual strands of hair so that I could finish the stitching on his forehead. I also neatened up the hair around the middle of his head by punching smaller amounts of hair closer together right down the middle:


Now all I had to do was add the muscle detail on the unfinished side of his face. After experimenting slightly, I came to the conclusion that the best way to create the muscle for his face was to use cling film covered in the muscle coloured latex I had created so that I could mold it to the shape I wanted it and it would give it an interesting texture. To pad out the muscle on his jaw, I added a cotton ball underneath:


This was his finished head so far, I was very pleased with how it had turned out! Of course, I still had the eyes to add but I would do this at a later date. For now, I needed to start on creating his body.


Monday 16 April 2012

Creating a Three Part Plaster Mold of The Head Sculpt

Now that I had the clay sculpt finished, I had to create a latex copy of it. I had already decided I wanted the head to be made from latex to give it a more believable texture. This is how I created his head:

I created a base out of clay and covered it in cling film. This was so the clay would take the weight of the sculpt and fit snug around it:


I then built a clay wall around it and expanded it - I probably expanded it more than I needed to but I wanted to make sure this would work as it was my one and only shot at getting it right:


I had to be careful to make sure the sides were straight - the way I looked at it was trying to keep the walls at perfect flat 90 degree angles. This was so the three plaster casts would fit together properly once I came to make the plaster mold. I also added markers on either side (this was the only part of the three parts I would add markers on either side) so that the plaster would fill in these caps and create a point of contact between the sides so they would come together properly:


Now I could add the plaster. To begin with, I flicked the plaster on in a thin layer so that I could make sure it got in to any nooks and crannies and covered it all so no clay was visible, whilst tapping the sides to get rid of any air bubbles. I waited for the plaster to set slightly and added a thicker layer of plaster. Then, I could add hessian onto the plaster and cover that in more plaster - this was to strengthen the mold. I tried to make sure the sides were flat above and to the side of the head so that I would be able to clamp the mold together:


I then did the same for the other side of his face and the back of his head (waiting around half an hour/ forty five minutes between each one). The only difference being, I added clay slip to the plaster and clay wedges around the sides. The wedges were so it would make it easier to open the mold later on. I also had to add markers in the clay around the back of the head:


Once it was dry, I could push wooden wedges into the clay wedges and start to lever the cast apart:


The first side to come off was the finished side of the face:


Then the unfinished side (which completely fell apart probably because it was a lot dryer than the other side and there were more areas where the plaster could sink in to and set and prove difficult to remove - areas such as the join in his jaw):


I then had to rinse all three parts clean of any excess clay that had stuck to the clay - making sure to get in everywhere so that no clay was left over otherwise this would compromise the outcome of the latex head. Once it was all clean, I could then start to create the latex head.