
To start, I mixed the colour paint I had decided on (a dull yellow colour as described in the book) and added a small amount to some latex. I decided it would make sense to connect the back of the head to the side of the head to minimise the chance of a visible join (especially because both sides are the same colour):


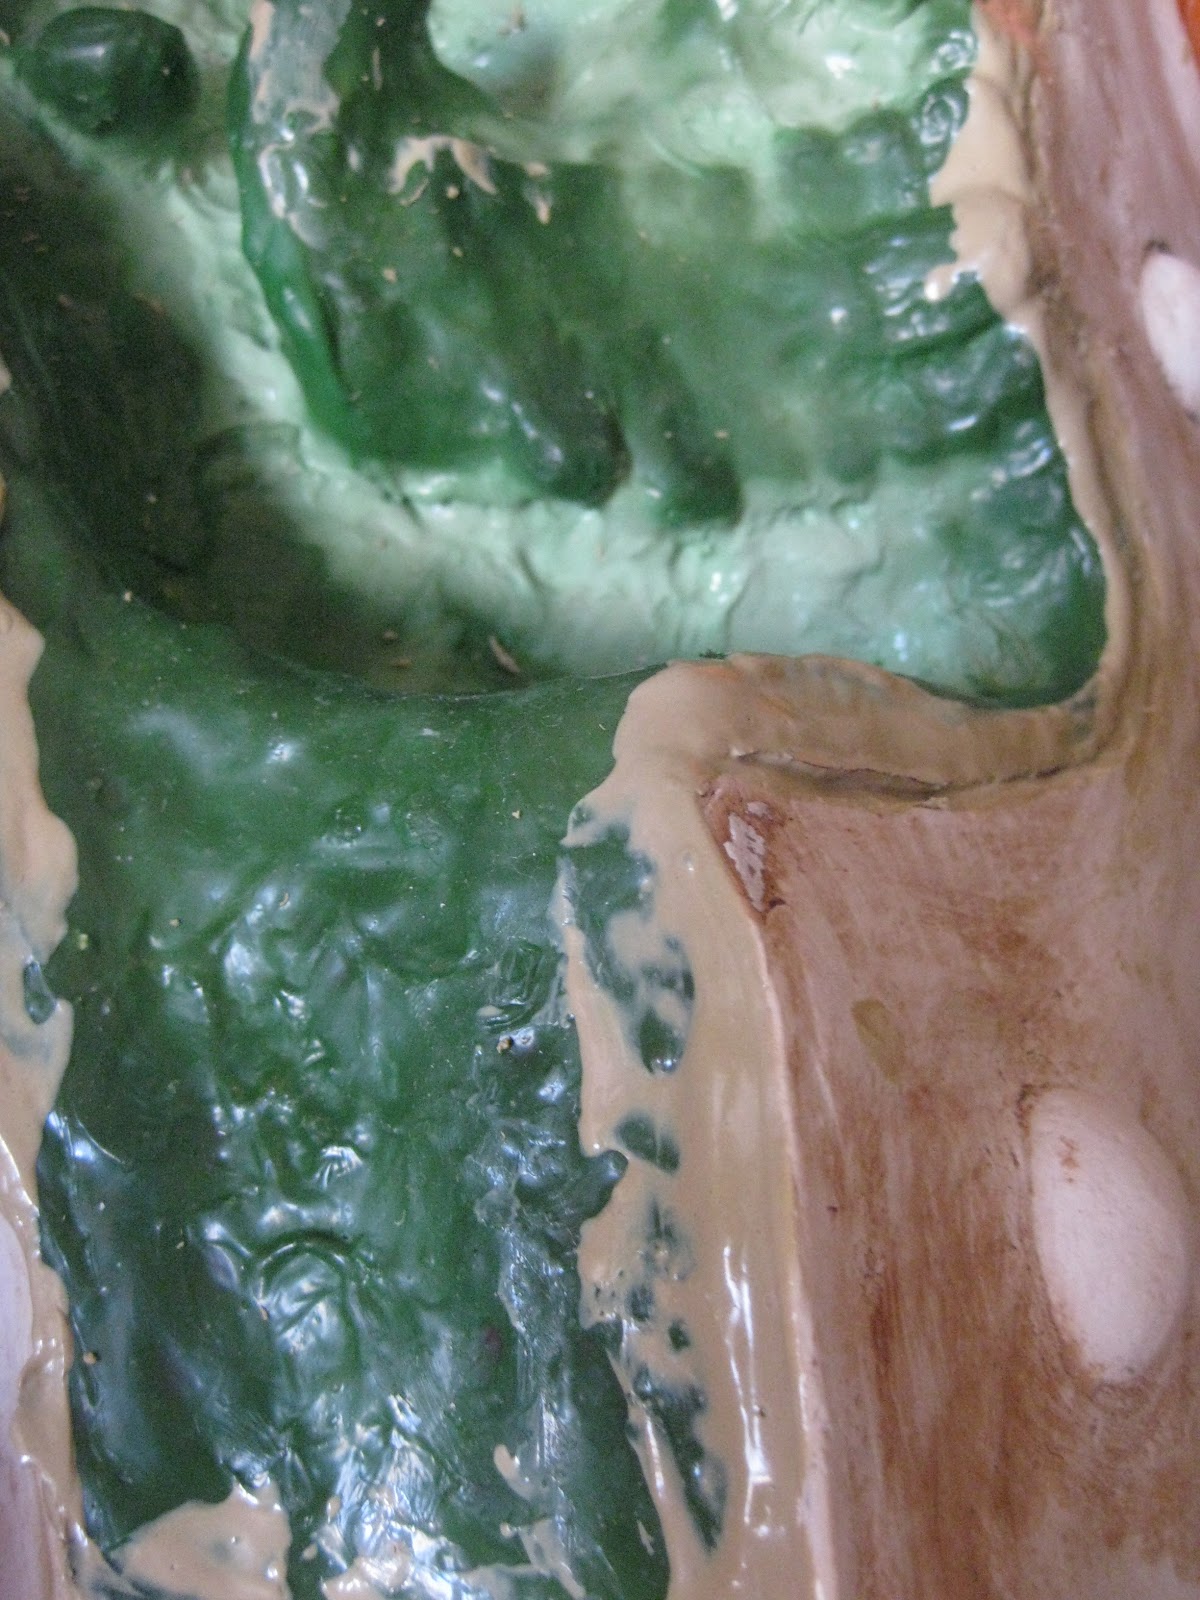
I should have put all the sides together at this stage and coated the inside in an extra layer of latex. However, I decided to strengthen it slightly and add an extra few layers of latex to all three sides. I used latex thickener for this and also chose to colour the latex green so I could make sure it had covered every part of the mold. I had to be careful to not allow any latex to get on the sides of the mold or it could cause trouble when trying to put the three sides together and would also create a sort-of-skin-tag on the head that I would have to cut of. I thought, if any green was visible through areas I may have missed when painting the bone, skin and muscle; I could just paint over it on the outside of the mold (or even make it a feature and turn it in to some kind of 'infection'):


Unfortunately though, the latex had began to shrink away from the plaster so I had to keep repairing it by sticking it back down with latex. Eventually, I had to tape it down until it had set and I was ready to put all three sides together for the first time.

Once I had clamped the sides together and made sure it was secure, I ran latex down the sides of the mold from the inside using my fingers so I was sure it was all covered. I then poured latex into it and rotated the mold so another layer of latex covered the inside and poured out the excess latex. I waited for this to dry and mixed up some J-Foam and poured it in to the mold and watched the foam expand out of the mold:

Once the J-Foam had set, I took the clamps of the mold and held my breath!...

It had worked! Thank goodness. There were a few areas that hadn't gone as well as they could have; for example, there were a few flaps of latex on the join down the middle of the face that needed to be cut off, there was a large flap on his head and two small holes in his ear as well as one small hole at the side of the open neck and on the side of the unfinished face. Luckily, these were all things I could adapt but all in all, it had worked really well:


I could now start to neaten him up and add the detail.
No comments:
Post a Comment