Myself

My photo
I have just finished studying Entertainment Design Crafts at Cleveland College of Art and Design where I specialised in the design and creation of props and set for film, TV and theatre.

Sunday, 18 March 2012

Sculpting His Head

This was going to be tricky. The only way I could think of getting as much detail in that I wanted was to sculpt his head out of clay (remembering that the head is the most important part and will portray the emotion of the scene). Little did I know how much time it would take!! It took, all in all, a week and a day until I got around to making a cast from it... I am extremely pleased with they way it turned out though. Here are a few images (of the hundreds there are - believe me!) of the creation of my sculpt:


I started by creating a basic shape out of polystyrene. I drew around the paper template I made for the previous polystyrene head and took it back an inch or so. By the time I had finished shaping it, I had probably taken off another good few centre meters. I decided to use polystyrene instead of creating a wire armature inside because it would be lighter (less clay), less expensive (less clay), and quicker to sculpt (less clay).


However, before I started to sculpt over the top of it, I needed something to represent eyes. I found a polystyrene ball (good ol' polystyrene) which was a perfect size. The only problem was, there was only one and it was soft. So, I made a two part plaster mould and mixed Polyester Gelcoat with Artex to create something quite similar to car body filler. I created two casts from these, one half eye and one full one (this way I could see which one works best) and then I started to sculpt:


I took the original polystyrene head I had created and made it slightly smaller and more in proportion to the rest of his body. This way, when I was creating the clay sculpt, I could keep referring back to the polystyrene version to make sure it was the right size.


I kept adding more and more clay on to try and get his basic face shape looking realistic. I had covered up one eye somewhere along the line so I re-opened that and tried adding a little bit of detail on:


It was all going wrong and I needed a fresh start so I took away some of the clay and started again. This time, I thought I would try and get the finished side of his face done first so that I knew where the muscles would sit on the un-finished side of the face (now I know that I should have done it all at once which would have been quicker and easier but we learn from our mistakes, right?) Anyway, I got to a stage where I was happy with his finished side:


I kept referring back to my polystyrene head to make sure it was the correct size and just out of curiosity, I compared it with my head at this stage:


Not too bad!


So now I started on the un-finished side (this was the longest part and the hardest to get right) I made sure I had muscle reference next to me so that it would be mostly correct (of course, I am never going to be able to get it absolutely bang-on accurate because I have no idea what the inside of a face looks like! Luckily for me, neither do the majority of people so in the end, I decided it just had to look 'right'... but still mostly accurate):


I tried getting the basic shape and the basic outlines but it just wasn't sitting right! Everything was wrong and more importantly it looked wrong. So I decided I would tweak the parts on the finished side so that I was completely happy with it and continue working on the un-finished half the next day (oh, now I know better - work on both sides at once!!) I added an ear which I was very happy with and smoothed his face down and added skin texture (which I created by taking a latex cast of an orange):


At this point, I was pretty pleased with it (if I ignored the un-finished side) and started to work on the other side. I knew however, that this side was all wrong and there was no saving it. It would be better for me to start again... so that's what I did...


Now then, I needed some teeth (or perhaps that was just an excuse to leave it alone for an hour or two) but in my head, if I had the teeth, I could position the jaw correctly and work from there. So, I made some teeth from Sculpey (these were just for the sake of the sculpt and I was planning on creating more realistic teeth later on):
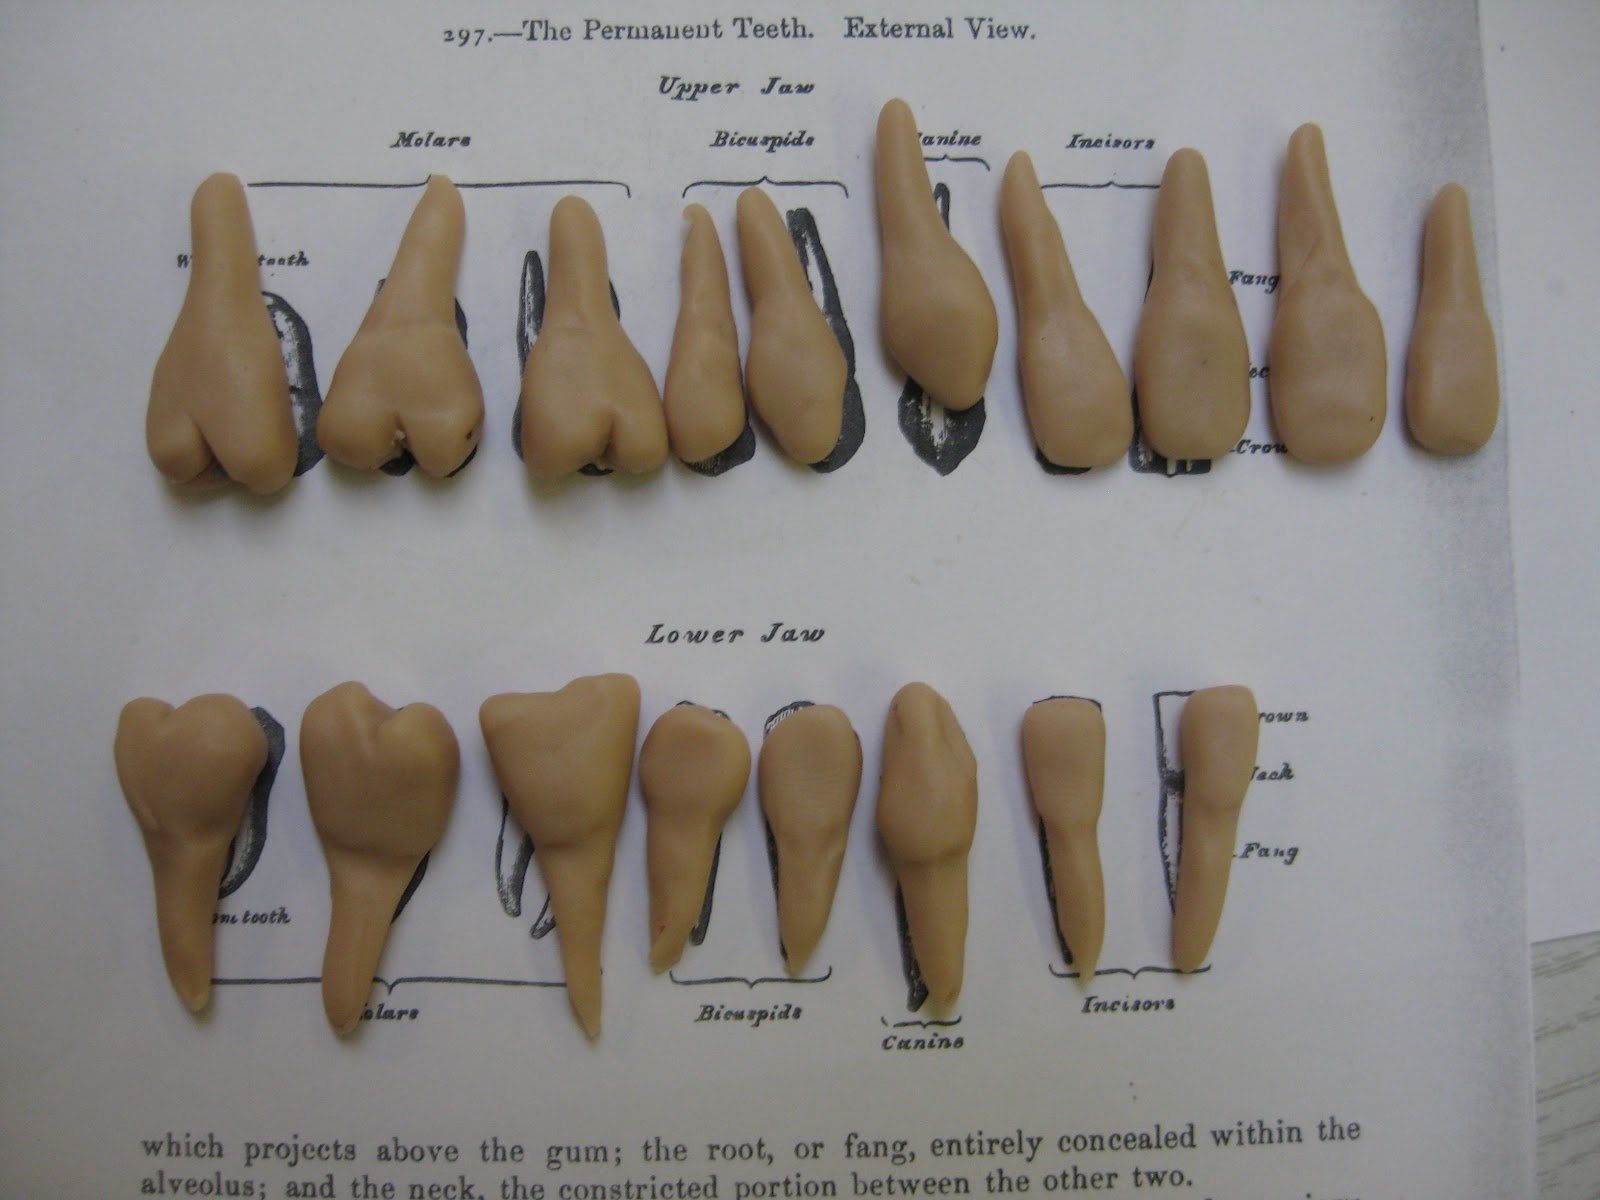

It still wasn't sitting right with me so I took it all off and started again:


I was starting to like the shape, especially the detail around the top of his head. Once I had put this in, the rest started to fall in place. One thing that was making it all so difficult was that I had become attached to the finished side of his face and didn't want to add or take any more clay on / away from it. Unfortunately though, the other side of his face just wasn't corresponding with this finished side. A lot of it was protruding far too much and it didn't look like the same face. So, I had to add more clay on to the finished side which would allow me to balance out the other side...


I was having so much trouble with his face around the nose and jaw area that I decided to just get rid of it and take it back down to the skull.


And that was it! I had finally finished it! Some parts were starting to crack but this wasn't a problem, I would be able to fix it just before I started to cast it and hopefully it wouldn't show up. So, here's the finished sculpt:


I'm pretty pleased with it myself!

Wednesday, 7 March 2012

Creating His Head And His Hands

To start on his head, I first used a block of polystyrene. This was so I could cut it down and shape it to the correct size quickly and easily.

Once I had done this, I had to create some skeleton hands so that I could finally get the position of his arms correct and get them welded in place. To do this, I used little strips of metal and a pop riveter. Once the hands were created, I cut a section out of one of the strips of wood that fits inside the metal bones and attached some of the metal from the hands onto there with screws so that they can be slid in and out.

I could then put the polystyrene head on top of the skeleton and position the arms where they needed to go and then they could finally be welded in place!

Here, you can see a really quick mock-up I made of the medical tool or saw he finds and is holding in the scene, this was just so I was definitely sure of the position of his arms. This was it though, once these were welded I could start creating him! This means however, that now he does not come apart and I will have to work on him as a whole but this isn't a problem and is probably a more sensible idea.

Saturday, 3 March 2012

Small Scale Frankenstein's Monster

I thought it would be good for me to create a small scale version of what I want the full size model to turn out like. This way, I know where to place the open areas in a place where they look realistic and where I might add extra stitches (although they could be anywhere!) To do this, I used Sculpey and built over the top of an action figure. Here it is:

Ok, so I very much hope my life size monster turns out a lot better than this (and he will) but for what I needed this for, it works a treat. I now know what areas look good exposed and how to position them on his body so they look more realistic, where to put the stitches and perhaps the bandages. This is going to prove very useful to me.

Thursday, 1 March 2012

Putting The Armature ('Skeleton') Together...


At the minute, I have a load of strips of wood, metal and aluminium wire that needs putting together! I decided it would be easier to put him together in parts so I did his legs and hips then his arms and chest then his spine and neck. It was then all clamped to a stand and secured to a wooden plank. Once he was stood up like that, it was clear for me to see that his chest was far too narrow (his arms also looked a little short but I knew this was just because they were bent and he doesn't have any hands at the minute) so I created a larger piece of metal for the chest. It took a long time to get the position right mostly due to the fact that he couldn't support his own weight and the hips and shoulders kept moving because of the circular holes inside wood/aluminium joints. So, he had to be done in sections. The legs were welded in place first and then the spine. The arms were not welded in place for a little while after this because I needed to get their position correct and for that I needed a head.


I attached the hips and chest to the spine with a wingnut after holes had been drilled in the centre of each rod. This was so I could potentially take him apart to work on him but at this stage it was starting to look less and less likely that that would be something I could actually do because of how fragile he is. This took a long time (around a week from start to finish) to get from all the rods and strips of wood to him being able to stand up. It was very important to get his stance right and try to imagine it as a skeleton to get the position right. For this, I took a series of photographs of people standing in this position so that I could get a sense of where the skeleton would go.

So there it is! Frankenstein's Monster's skeleton.

Tuesday, 14 February 2012

Creating The Armature (Or 'The Skeleton')


How the heck to I make a 7ft man?? I know, right! Tricky! Well, here is how I tackled it.

I knew right away making him 8ft tall (as described in the book) would just be stupid and the audience probably wouldn't understand why he was so tall. I knew I wanted him to be tall because I want to convey that sense that he could be dangerous if he wanted to (or perhaps even if he didn't want to - someone that tall would definitely cause some damage even if it was by accident.) So, for size reference, I printed out Da Vinci's Vitruvian Man, traced it on to acetate and projected it on to a wall. I asked my friend, Gemma, to stand next to it so that I could get a good idea of size:
Gemma is around 5"10. The projection of the image is pretty faint but it is visible here. I was quite happy with his size and stuck some paper to the wall, drew around the projection and that was that.

Now came the tricky part, how do I make his skeleton?
I had a look online how other people had created large statues. Most were made from a wire armature and built up on using clay which was then cast in plaster to create a plaster mould. This would have been perfect but I just don't have the time to sculpt a 7ft man out of clay! I kept looking but the same results kept coming up; some used thick metal, some even combined it with wood.

I was stuck...

I had a look in our workshop at uni at the materials we had available. There were some square, hollow metal rods and a bunch of wood. I knew exactly where I wanted the joins and where I wanted the joints but how to put it together?? No idea! So, with some help (I have to admit) came a brilliant idea:


I would use the metal as his bones and I would use the wood as his joint sockets.
So, the wood was cut to the correct size and I rounded the edges off so it could slot into the metal easier. I drilled a hole through the wood and used aluminium armature wire (which I rounded slightly in a vice and with a file) to stick in the hole...


...which ended up creating a rather great joint! So now I had tested it, I had to measure the correct sizes out so that the metal could be cut and I could start creating his actual skeleton. I had to remember to account for the space the aluminium wire would give when I was measuring out the sizes otherwise he would've had a good few inches added on to him by accident.

Here is what it looked like once all the metal had been cut to size:

Not bad! Well now I had to go through the process of rounding the wood slightly and drilling a 6cm hole in each side, measuring, cutting and rounding off the armature wire and putting it all together as one big piece.
His spine, by the way, is in seven bits. The wood for this will just have to be wedges I think, there would be no other way of being able to get it on properly without the wood splitting.

Next step: get him put together and stood up!

Wednesday, 1 February 2012

Major Project

Ok so, it's Major Project time.
First things first: the position. There were one or two problems with my first idea. Firstly, I fear it would take up far too much space for the Degree Show at the end of the year and secondly, it's just pretty boring.

So, I came up a few different ideas...


I decided the most interesting BY FAR was the last idea I had where he is stood up and has caught sight of his reflection. There is so much I could do with this! To start with, I thought about 'what could he see himself in? a mirror? a medical tool? a window? a glass jar?' it could be anything. The ideas were plenty and the scope for dramatic positioning was amazing but I knew right from the start that I didn't want obviously dramatic. I wanted to keep it more subtle; 'subtle yet effective' as the saying goes.

So here is what I came up with!
The idea now is this: Frankenstein's Monster has woken up a day or two earlier than he is supposed to. He finds himself alone in a strange room, waking up for the first time. As if for the very first time. He is confused, he is in pain but he doesn't know why. Why does it feel like? Is it supposed to feel like that? He sits up, swings his legs around and stands up. He is weak, he cannot stand straight. He knows something is wrong, everything seems small to him. He attempts to walk, to get a better understanding of his body. He struggles and stumbles across the room until he balances himself upon Frankenstein's desk. Here, he sees a large journal, full of illustrations and annotation. He cannot make sense of it and doesn't understand what it means. He turns his head away from the confusion and catches sight of something to the side of the journal. He reaches for it and grabs it by the handle. He is curious to know what it is and holds it up to his face. He sees his reflection in there and for a second or two, he doesn't realise that it is him. He touches the metal to make sure it is his reflection. Shocked and confused he goes to touch his face to confirm that it is indeed his self he can see in that medical tool.

This is the moment I want to capture. I don't want the typical anger/frustration/pain reaction we are so used to seeing that makes us scared of him. I want him to be confused, scared and uncertain (saying this, it is important to me that he still looks confident - he is alone and therefor wouldn't be shying away from anyone) I want the audience to feel sorry for him.